LangQuest Basics
Introduction to LangQuest - collecting text and audio language data for every language and culture
Welcome to LangQuest
Every Language. Every Culture.
The goal with LangQuest is for you to collect text and audio language data quickly, local first on your phone, and then you can sync when connected. You can collaborate with team members, translate with them, and validate with them.
Our Vision
Our vision is every language having access to the world's knowledge and sharing their cultures meaning with that world.
What You Can Record
You can record a Bible or any other content in LangQuest:
📖 Structured Content (Bible)
A Bible has structured content - it has books, and it has chapters. When you're recording structured content, each chapter will become a quest that you can work on.
📚 Unstructured Content
You can also create unstructured projects for content like:
- Folktales
- Myths
- Poems
- Traditional stories
- Cultural content
- Any other oral or written content you want to preserve
Understanding Projects
Your Project List
When you view your projects, you'll see your local projects that you've created. You can create new projects at any time:
- Unstructured projects - For folktales, myths, poems, and similar content
- Bible content projects - For structured Bible translation work
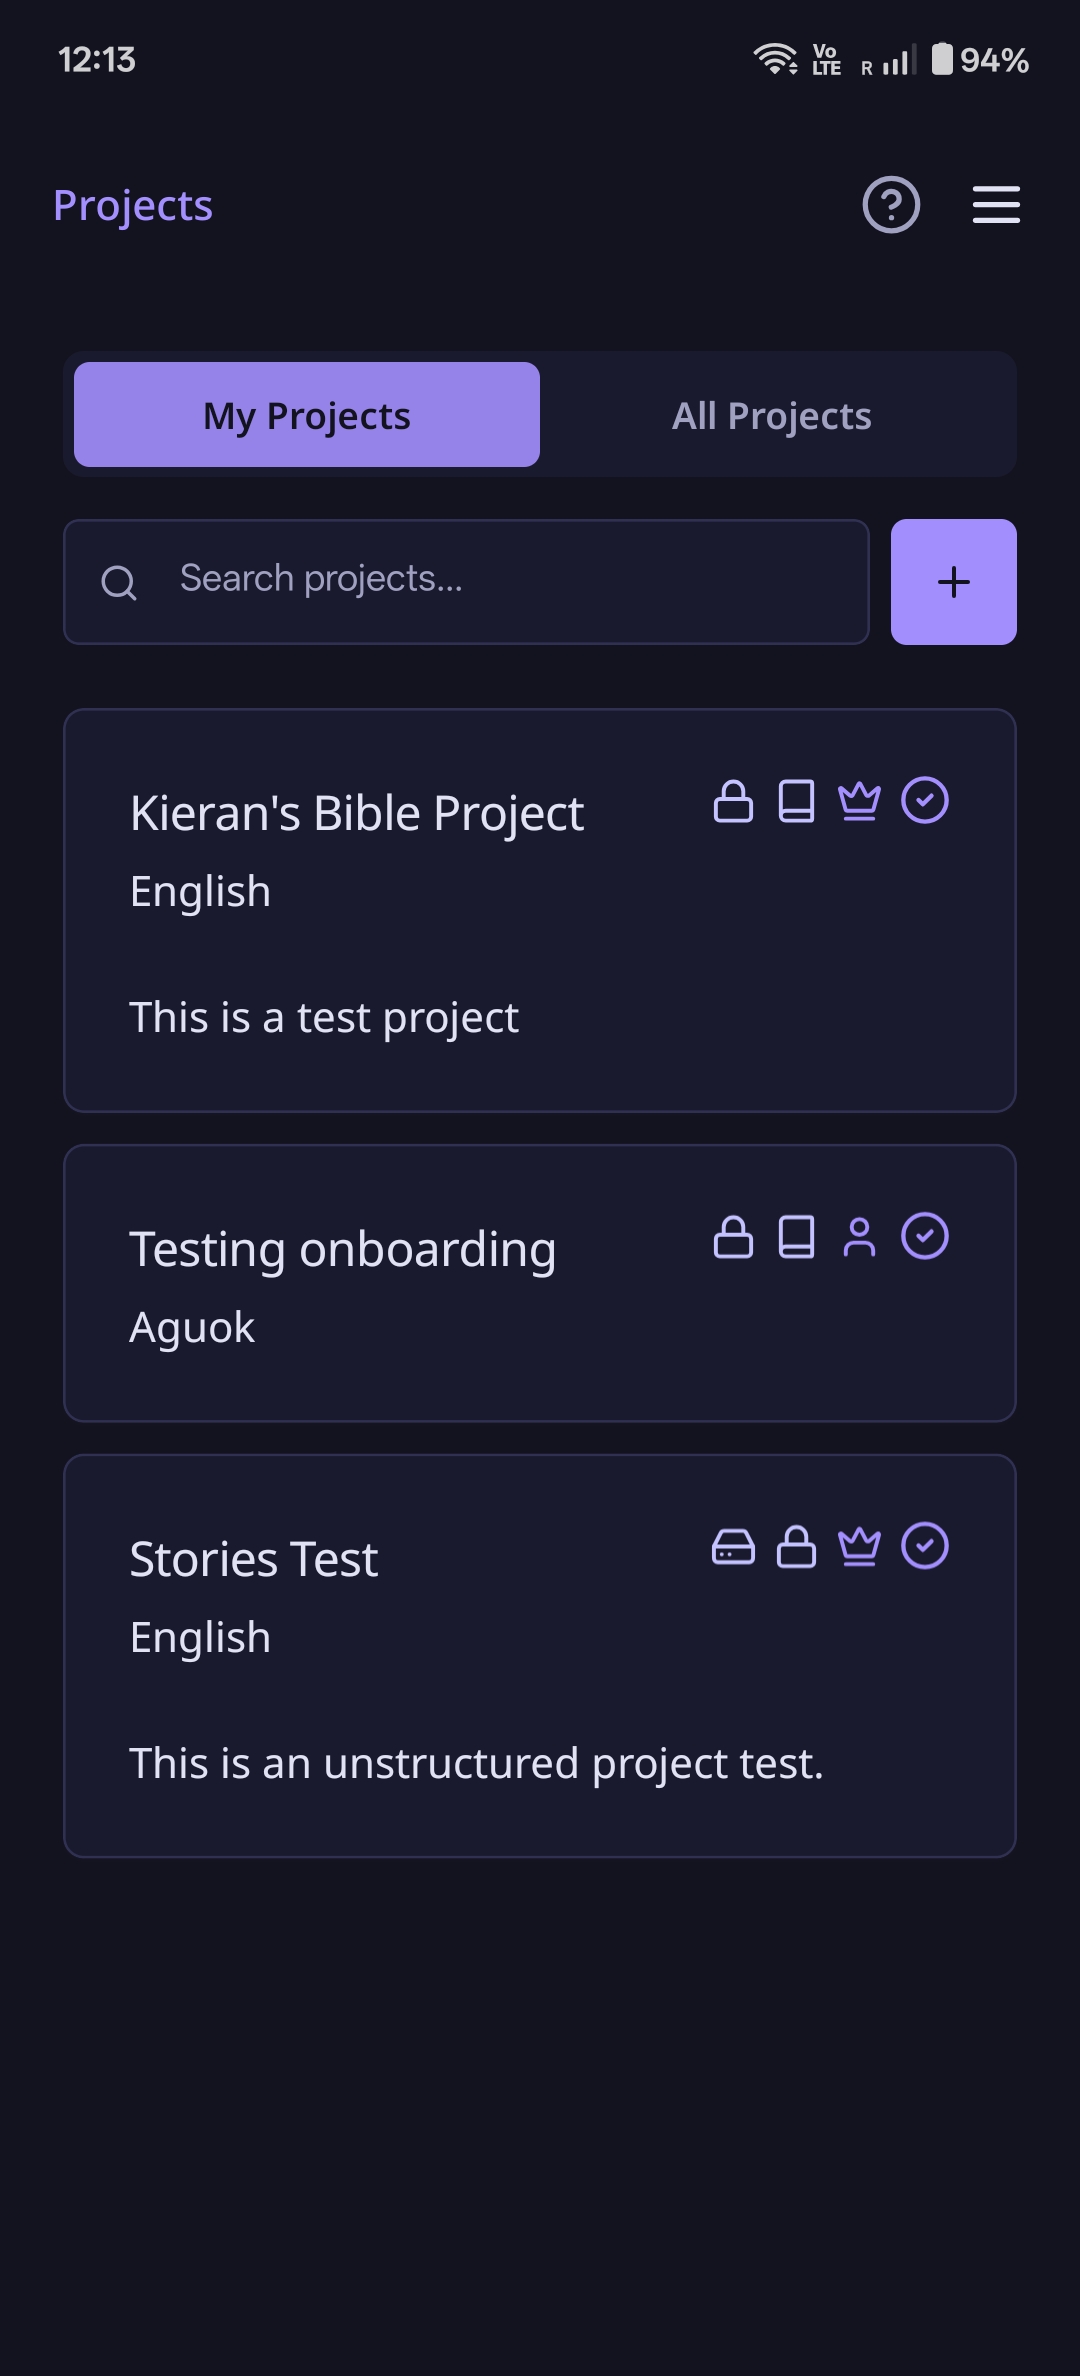
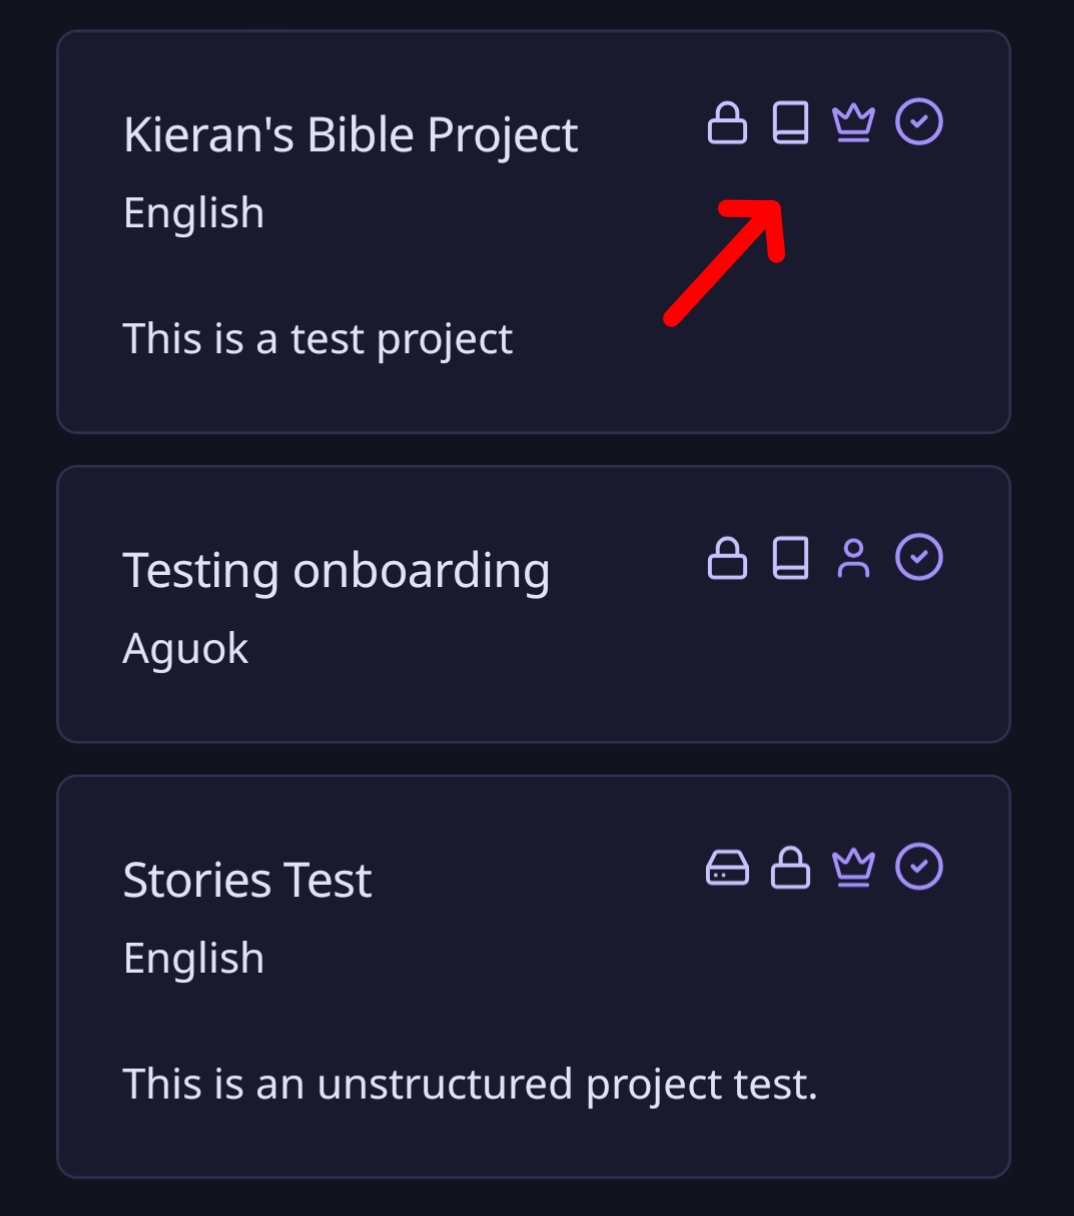
Project Types
Projects are displayed with visual indicators:
- Bible icon 📖 - Indicates a Bible translation project
- Crown icon 👑 - Shows that you own this project
- Person icon 👤 - Shows regular membership
- Lock icon 🔒 - Shows Private/Public status
Working with Local Projects
Your projects start as local projects stored on your device. You can work on them offline and later upload specific chapters or content to the cloud when you want to collaborate with others.
Working with Bible Projects
Navigating Bible Content
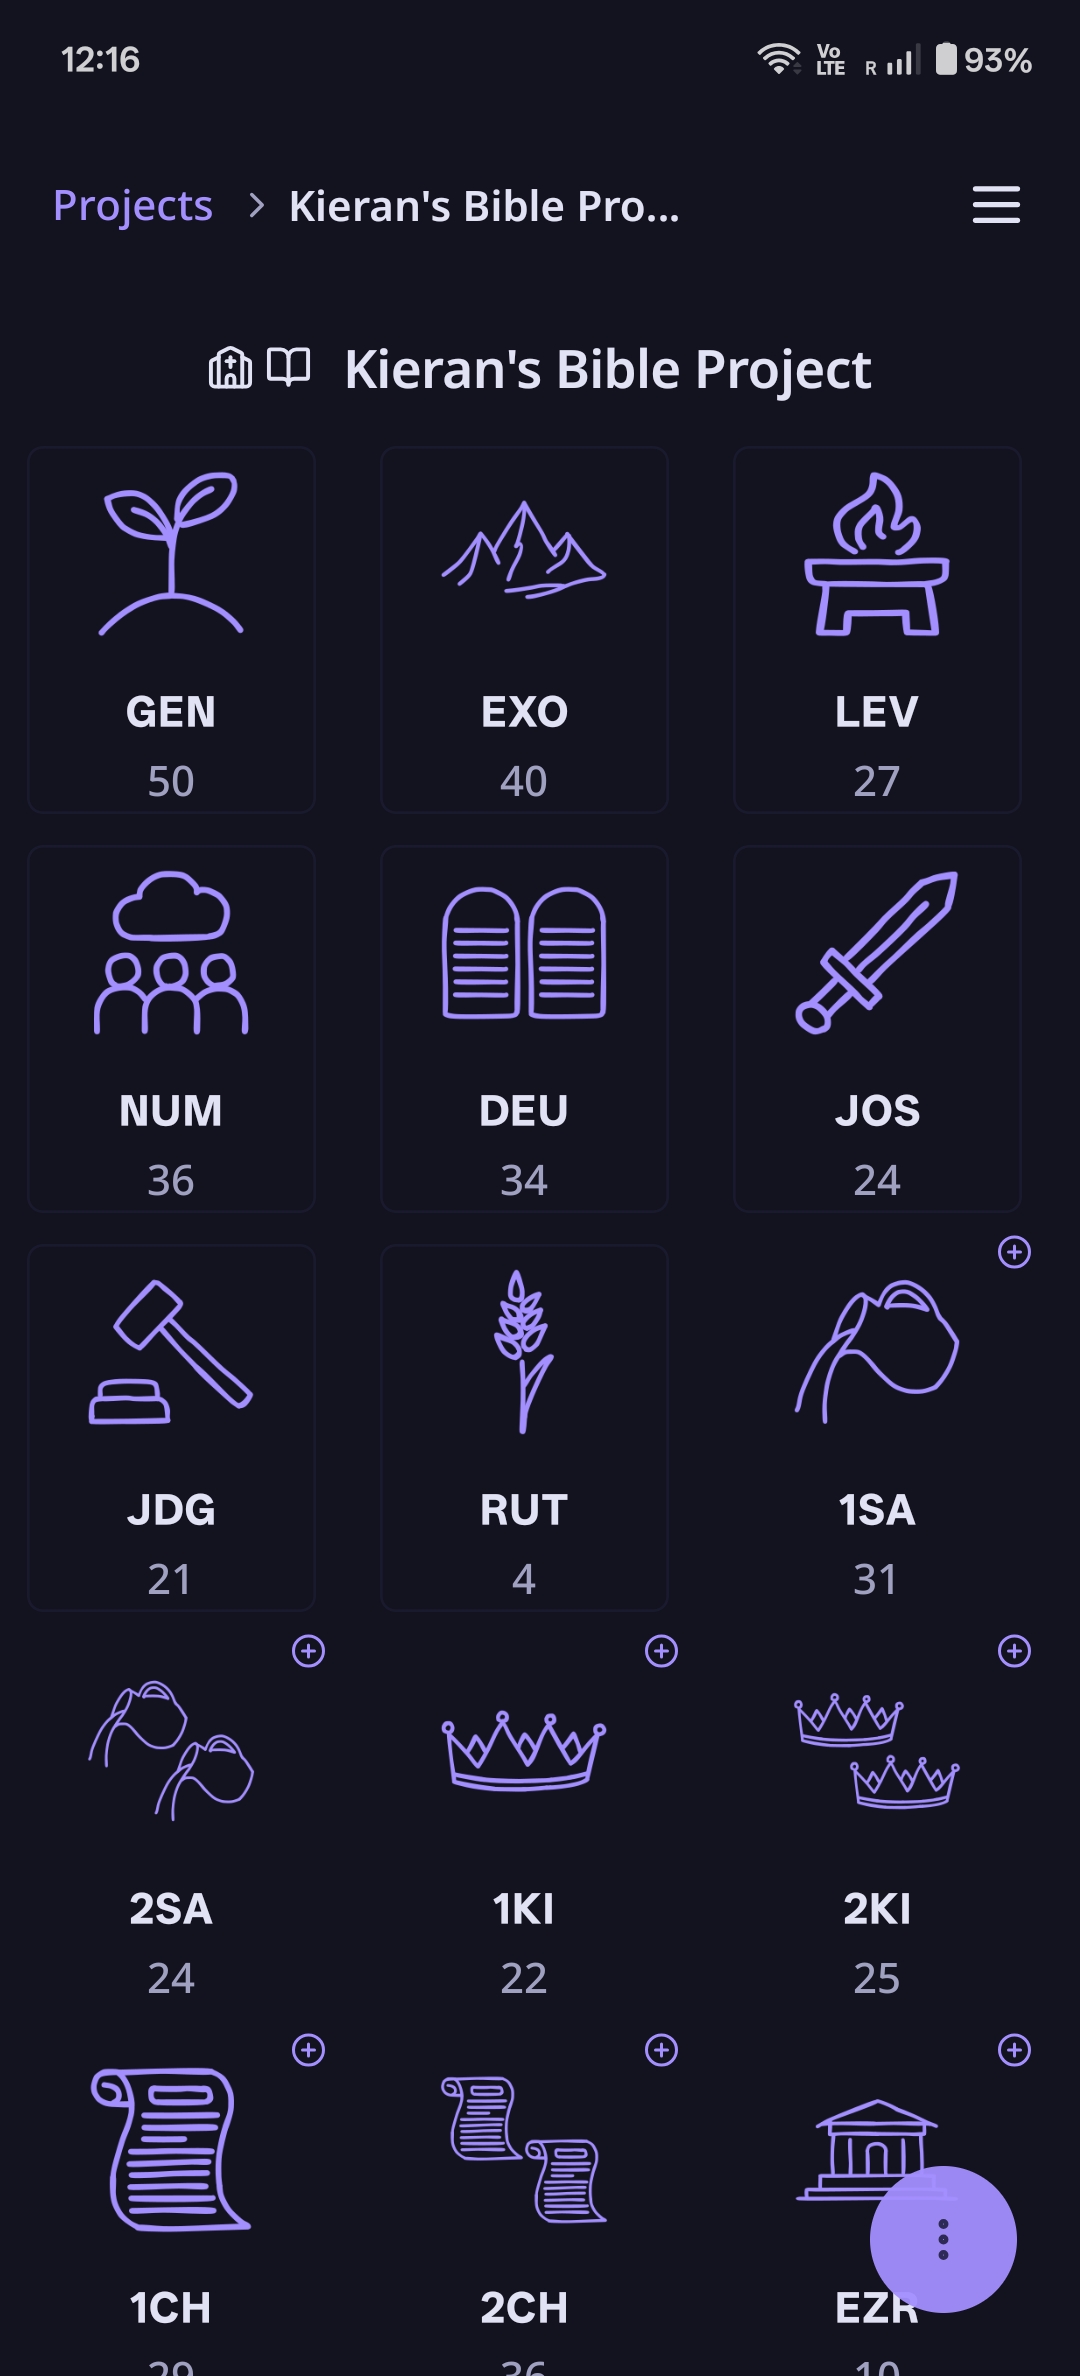
- Select a Bible project from your project list
- Browse the books of the Bible (Genesis, Matthew, etc.)
- Select a book to view its chapters
- Select a chapter to create a quest
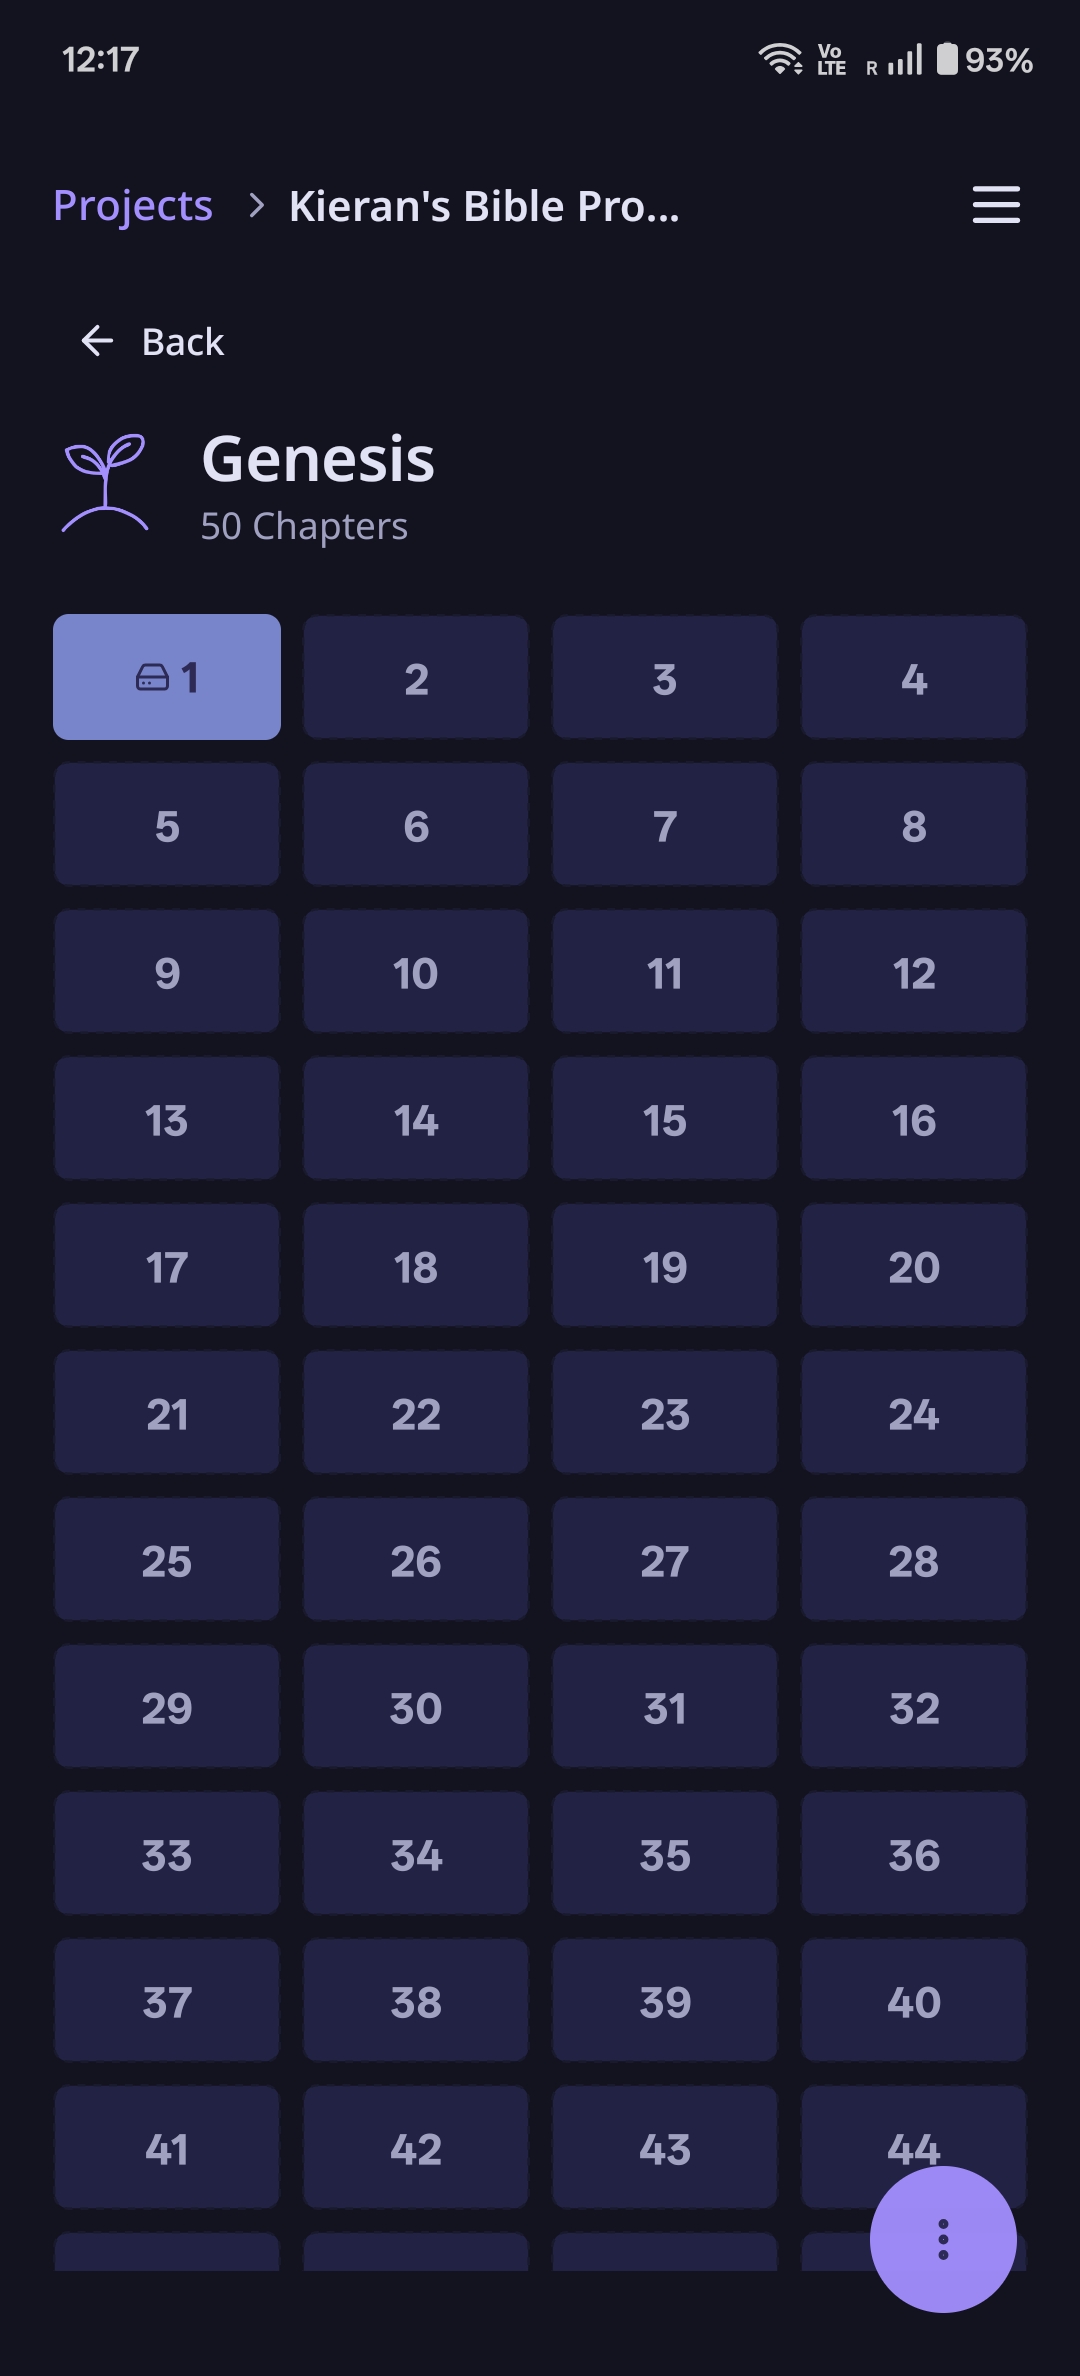
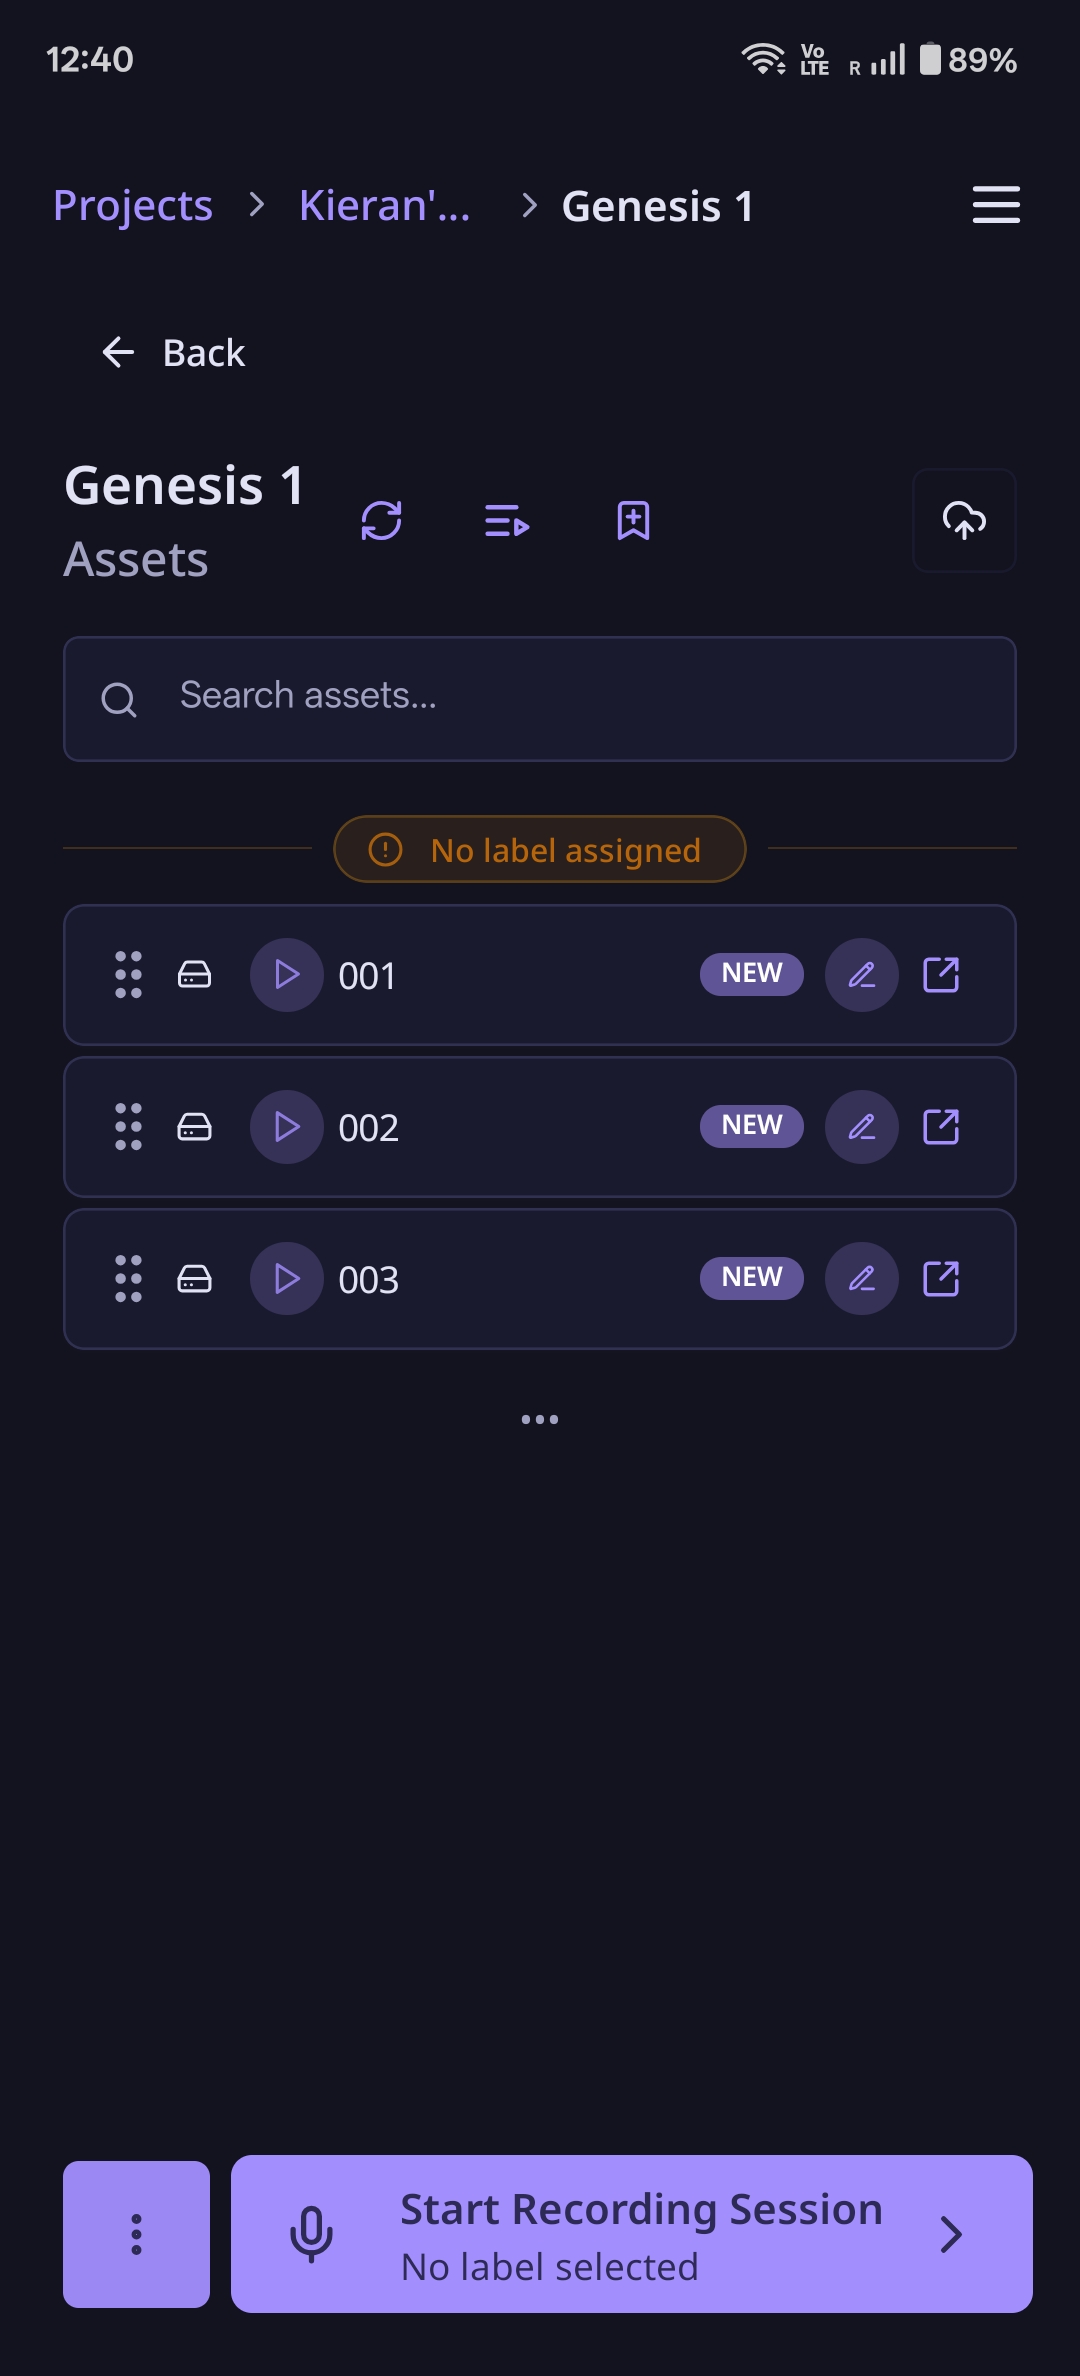
Starting a Recording Session
Once you navigate to a chapter quest you'll see an empty asset list and a Start Recording Session button at the bottom of your screen
When you're ready to record:
- Click "Start Recording Session"
- Grant microphone permissions if prompted
- Click VAD recording settings icon
- Calibrate your microphone - LangQuest will automatically adjust the sensitivity for your environment
- ⚠️ Important: Remain as quiet as possible during calibration for best results
How to Collect Data
Recording Mechanics
The record button supports two modes:
- Tap to record (VAD mode) - A quick tap starts Voice Activity Detection, which automatically creates segments when it detects pauses in your speech. Tap again to stop.
- Hold to record (Push-to-talk) - Press and hold the record button while speaking. Release to stop. This records a single segment.
Each recording creates an asset that represents that specific piece of content (like a verse or story segment). Assets from your most recent recording session are highlighted with a "NEW" badge so you can easily find and review them.
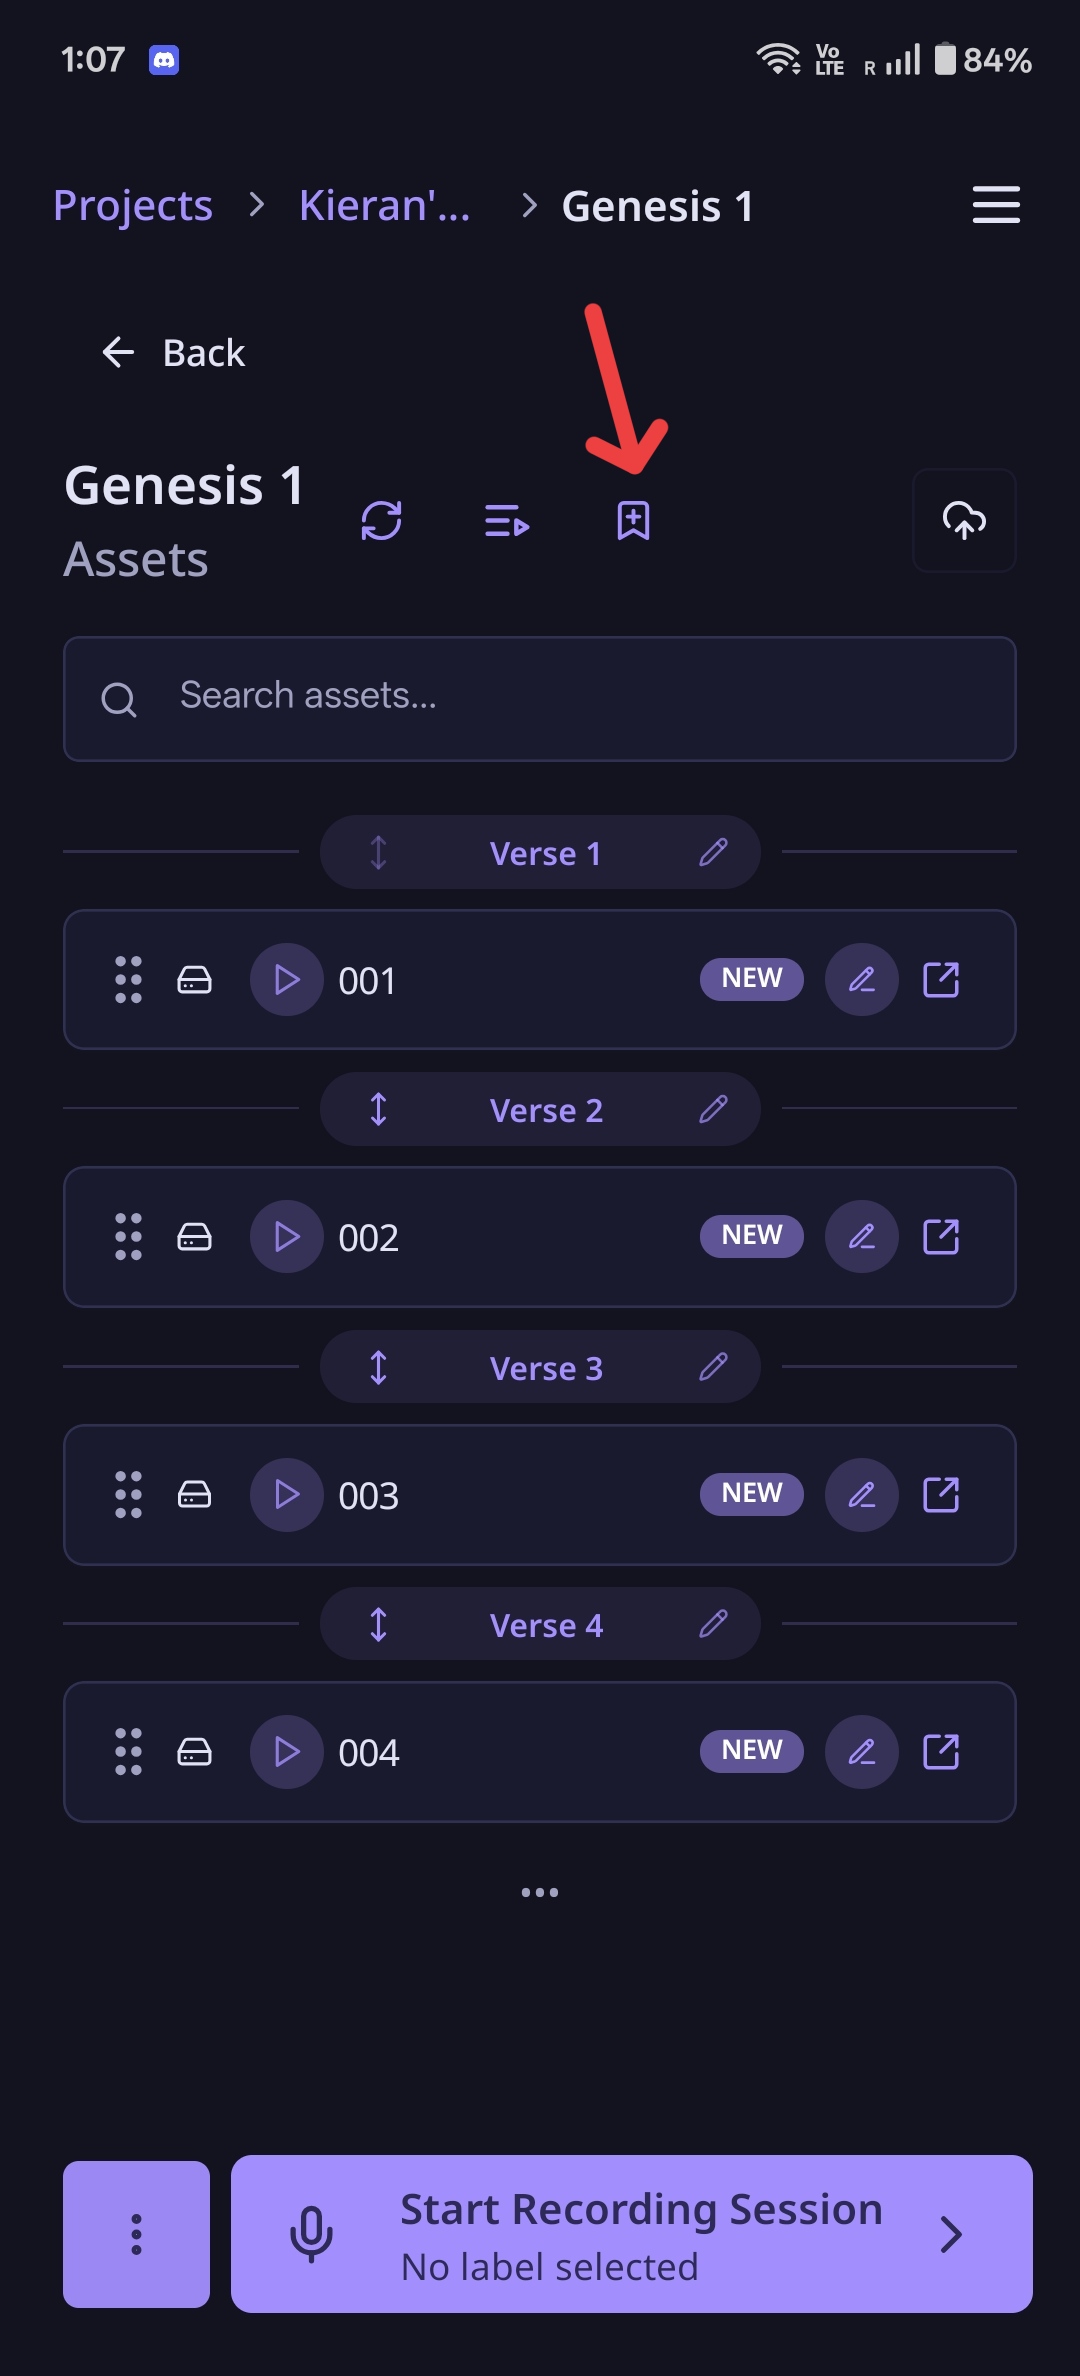
Verse Labels Overview
Verse Labels are always enabled for Bible projects, helping you organize recordings by verse.
With verse labels, you can:
- Select verse labels before or during recording
- Record specific verses by choosing the verse label first
- Start recording sessions for specific verse ranges (e.g., Genesis 1:3 or Genesis 1:4)

Recording Bible Verses
In the recording view:
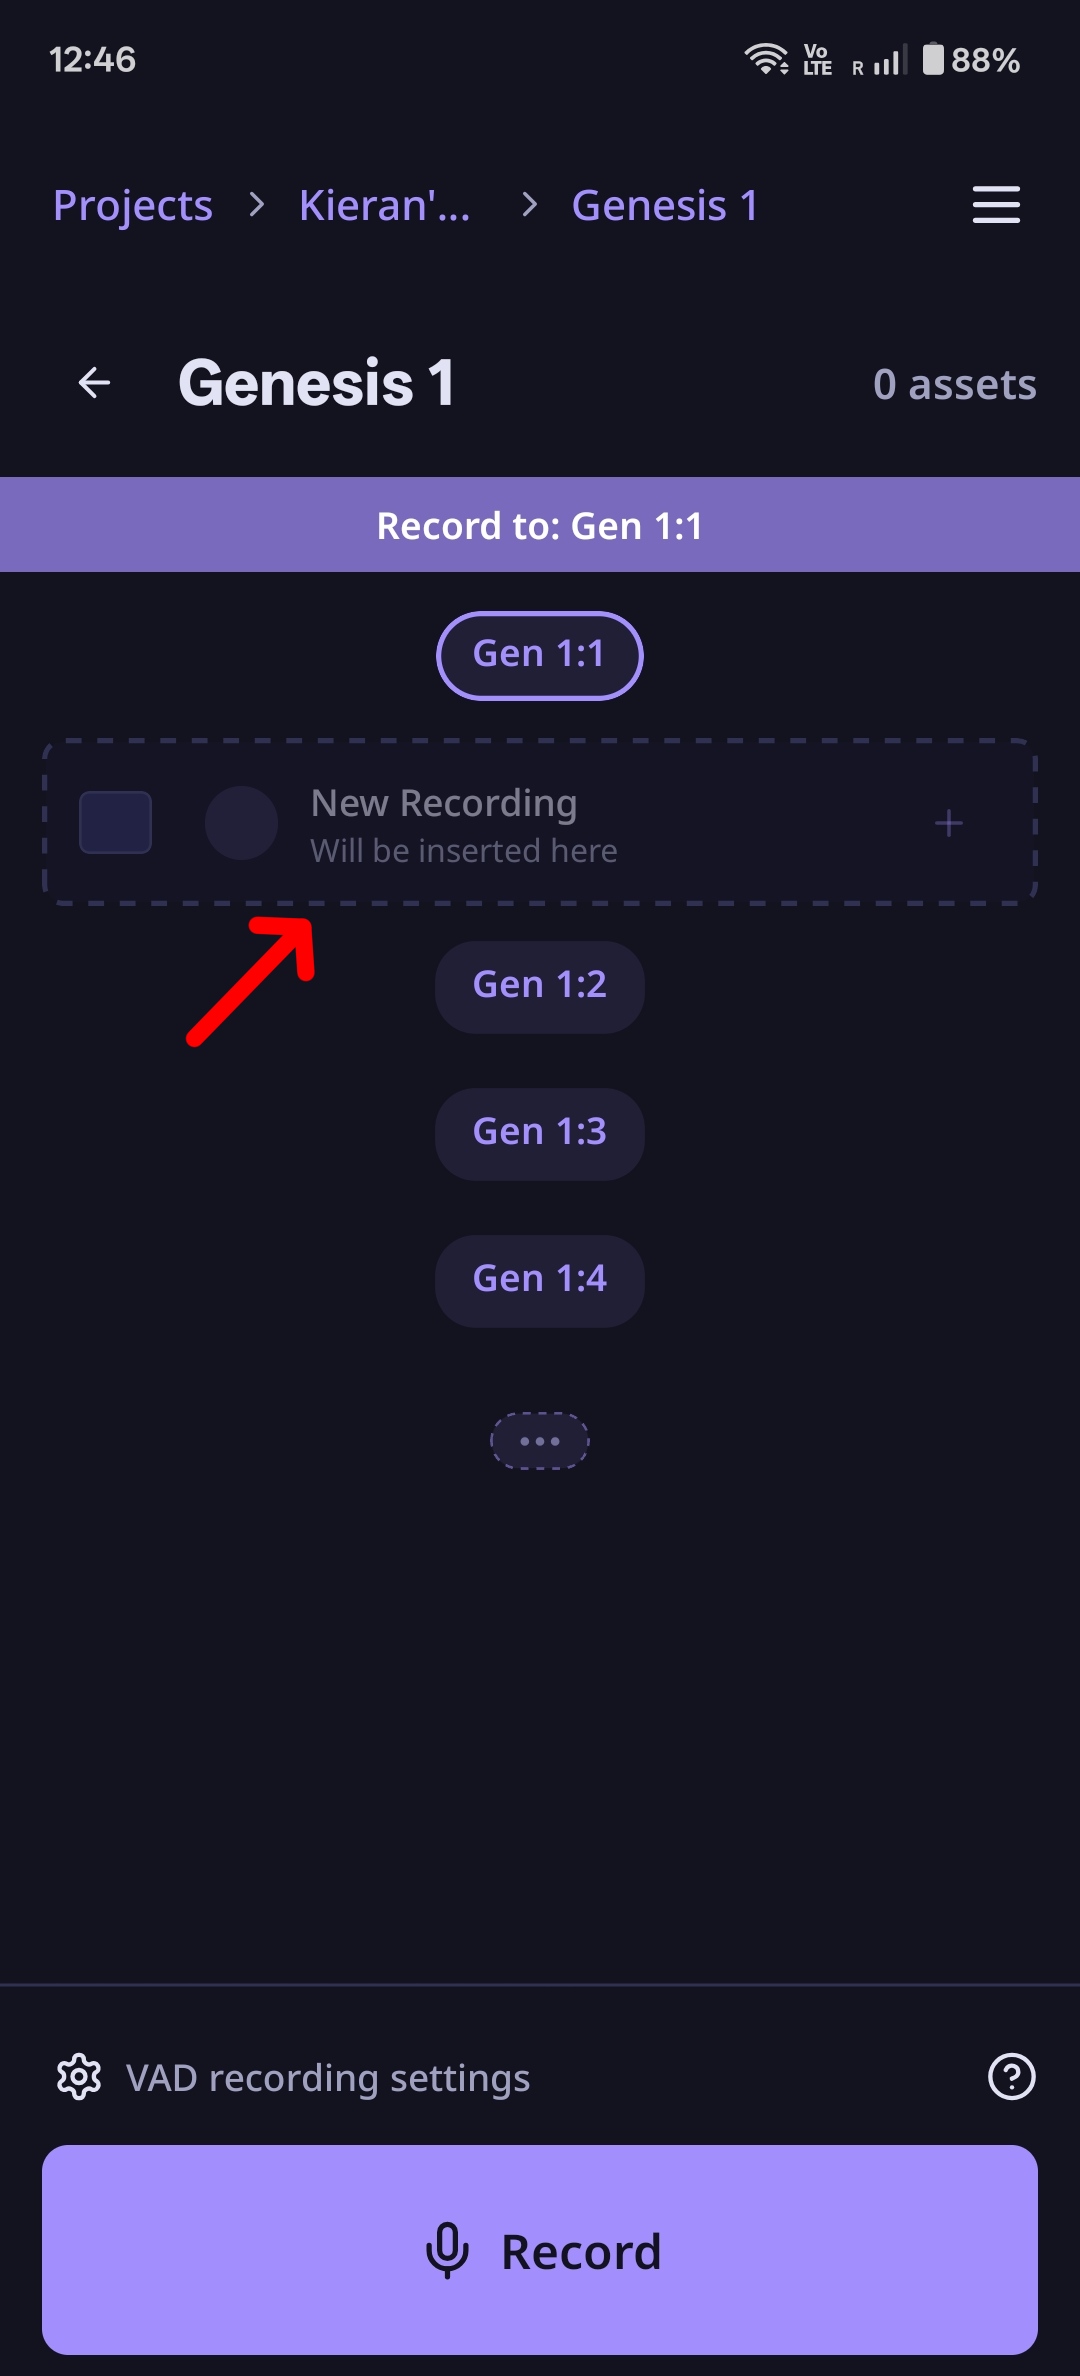
- Select your verse labels for how many verses you want to record from the verse pills
- Tap to start VAD recording and speak naturally, or hold to record individual verses
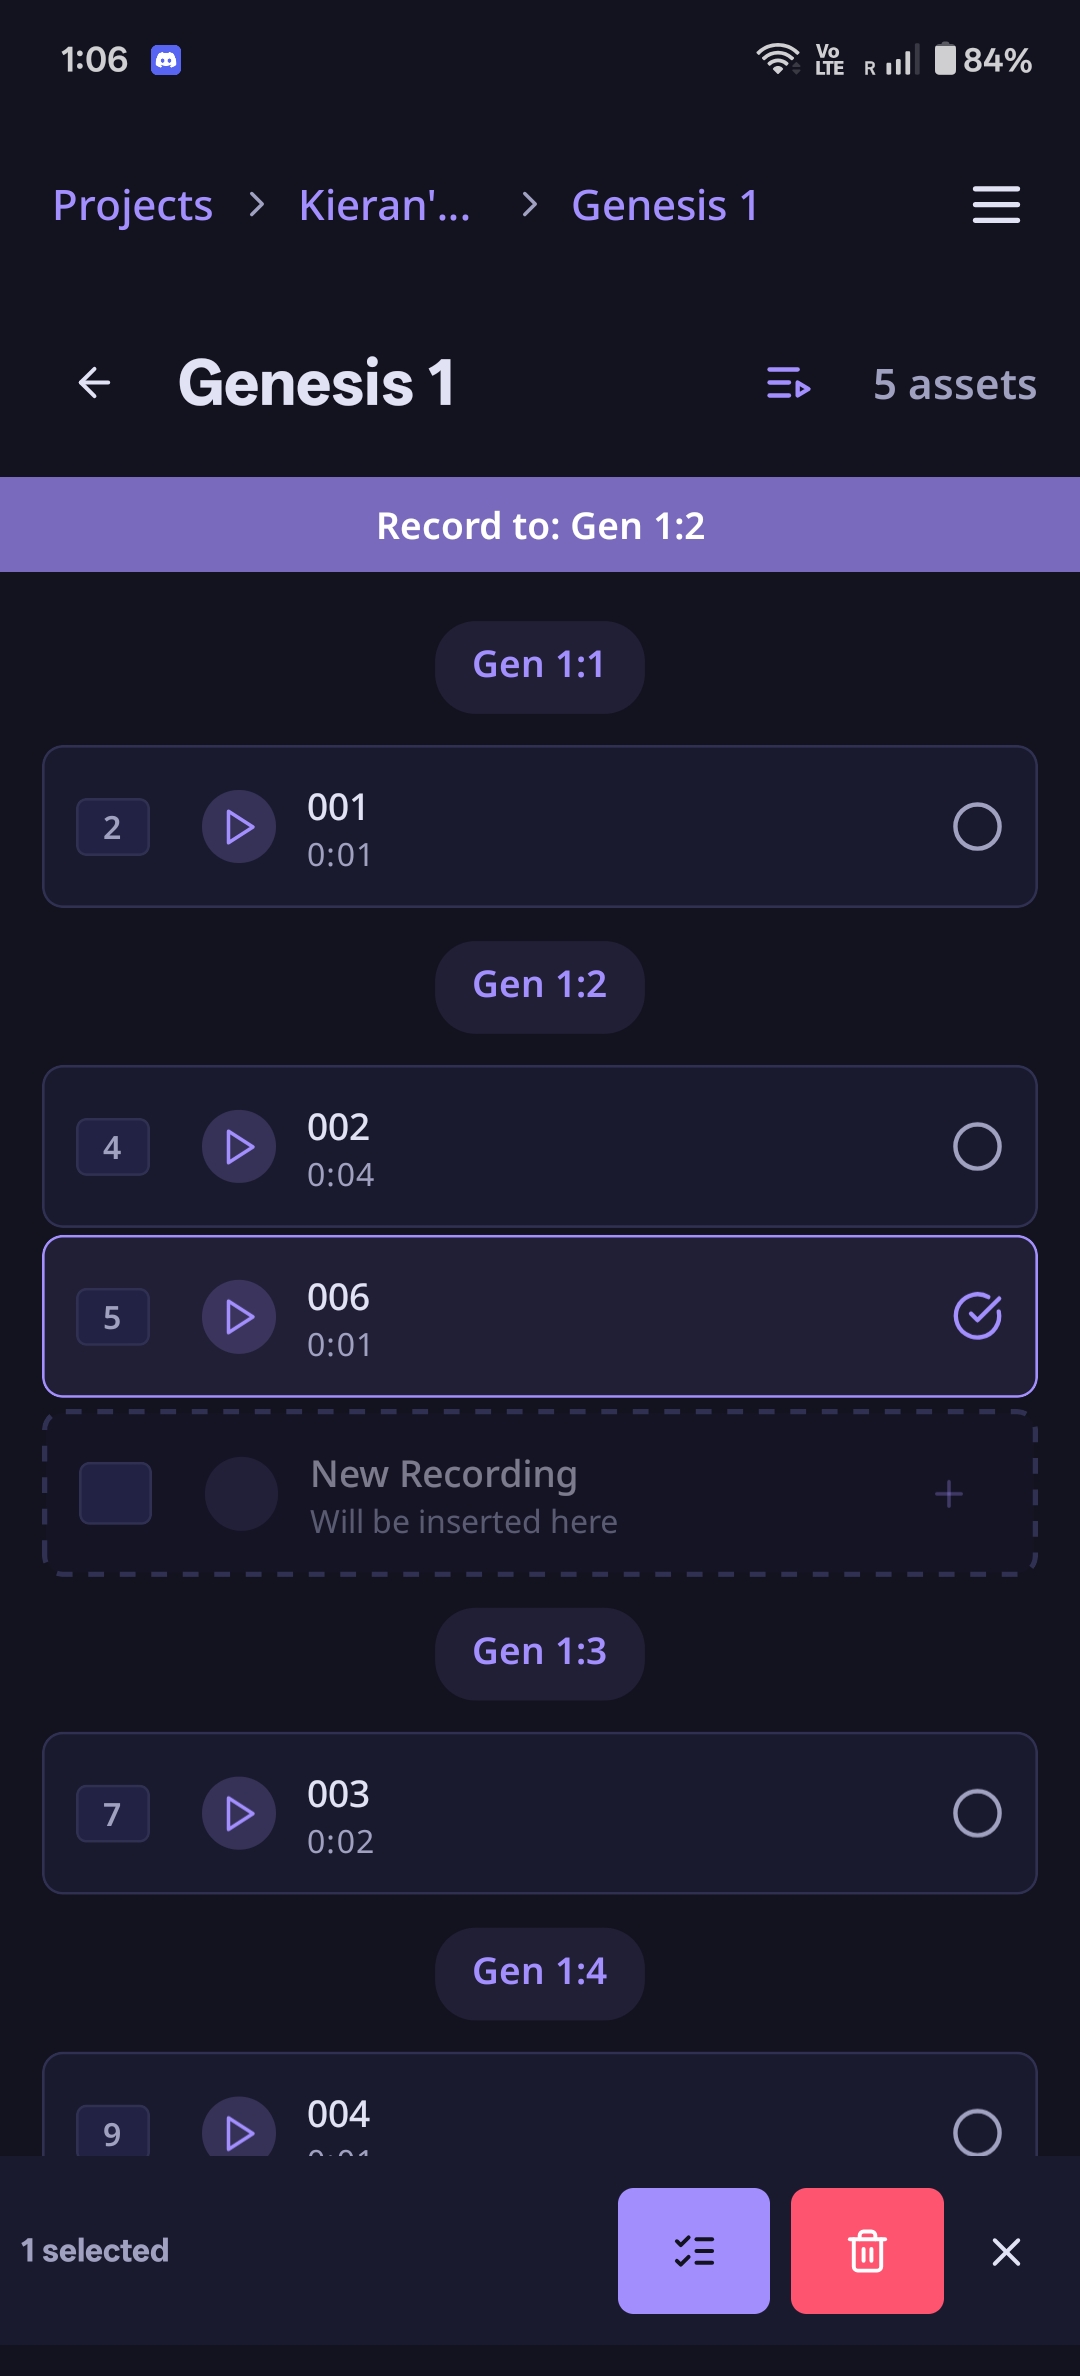
- Each recording creates an asset labeled with the verse number
- During VAD you can seamlessly tap the next verse label and resume speaking
- Play back your recordings to review them
- Select and delete any assets you don't want
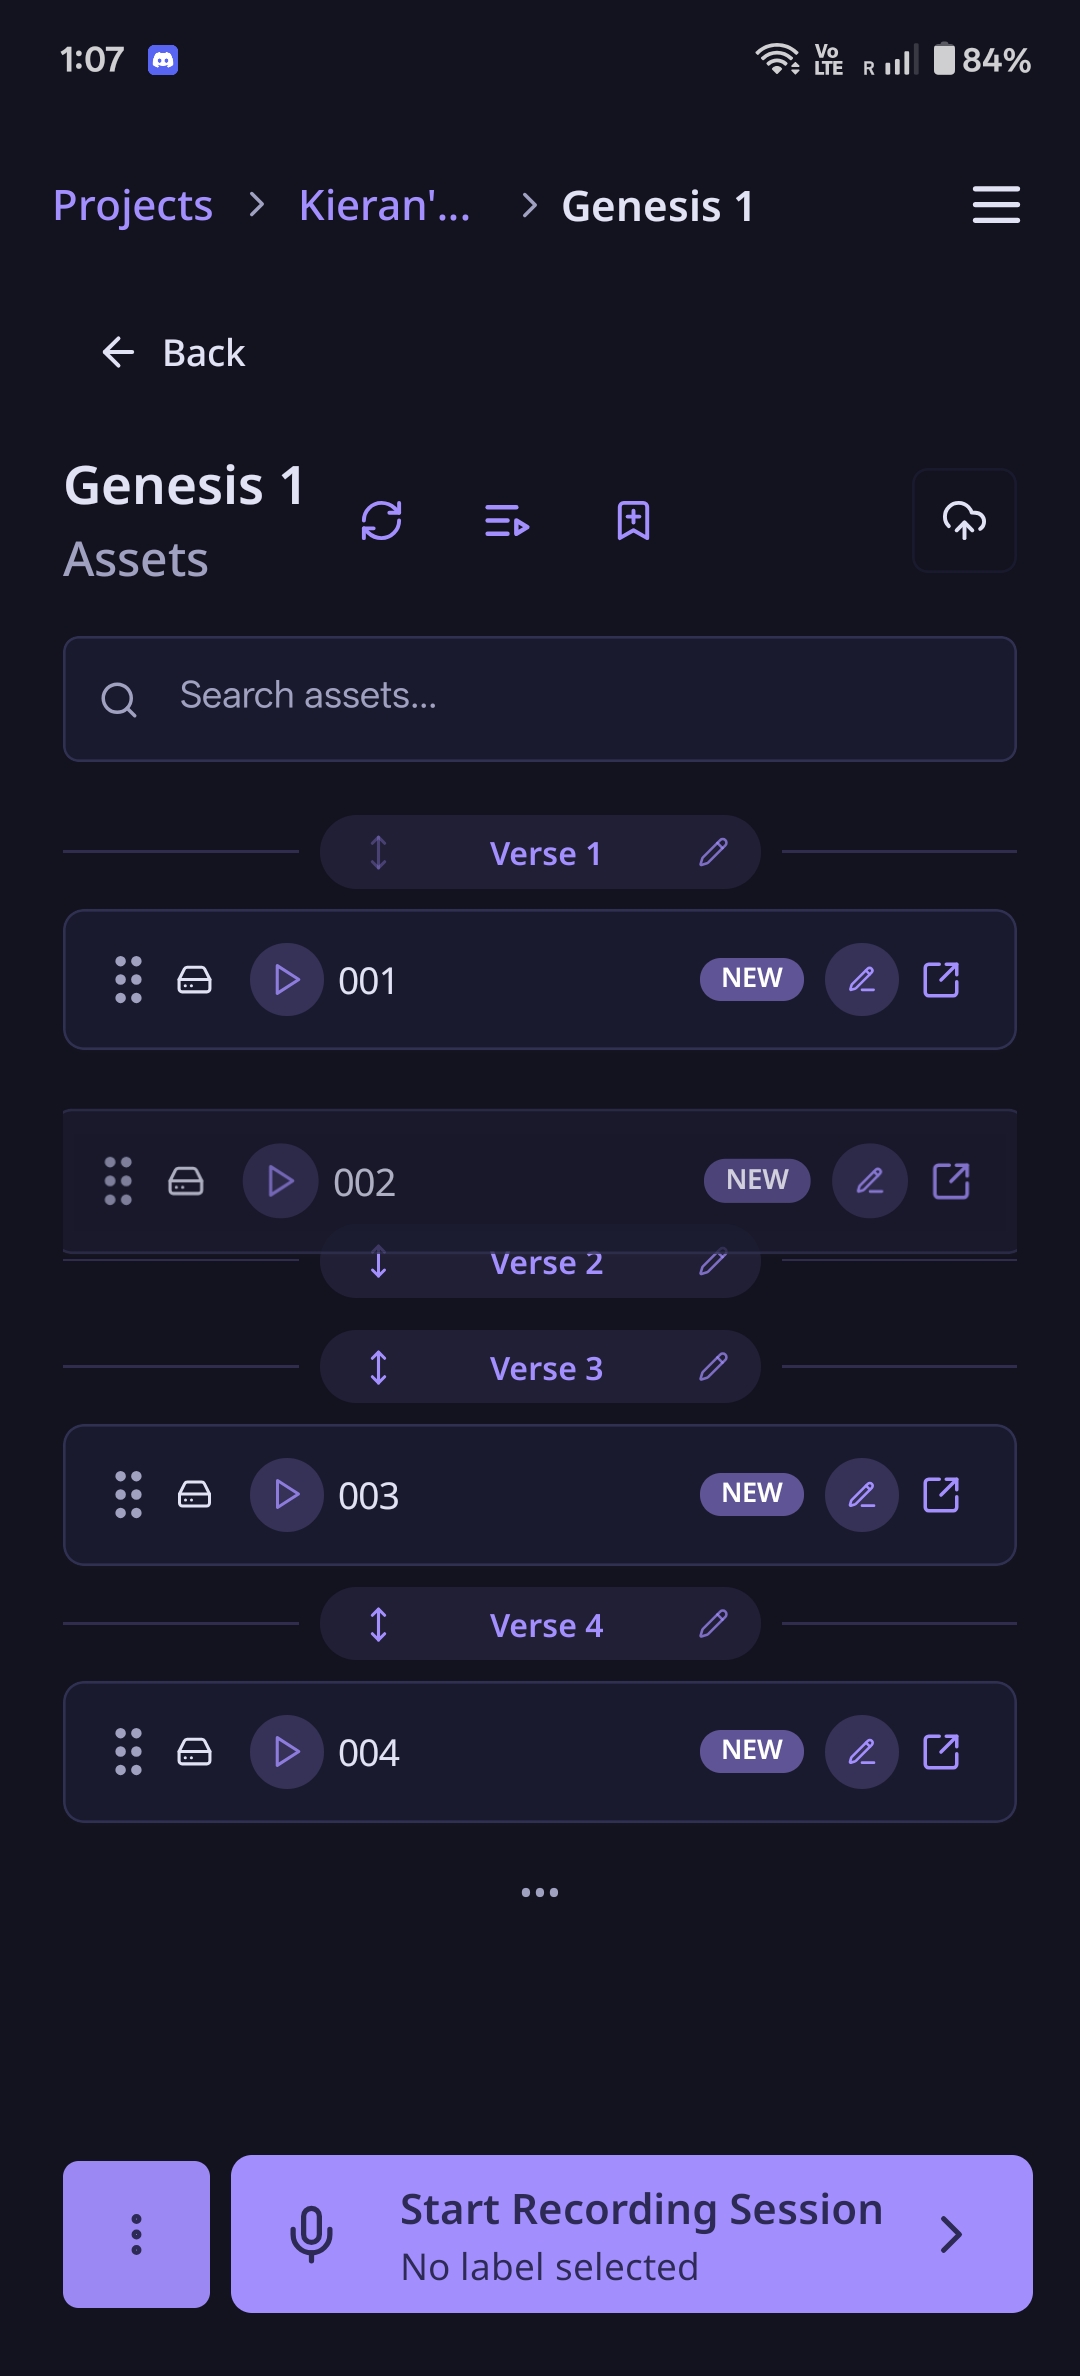
Managing Assets
You can manage your recorded assets in several ways:
- Reorder recordings - Drag and drop assets to rearrange their order in Bible views
- Delete recordings - Select and delete individual assets
- Change/Add verse labels - Adjust the verse range for any asset
- Play all assets end-to-end - Select to play all your recorded assets one after another

- Merge recordings (optional) - Enable merging in Settings to combine multiple assets. The audio segments will be merged into the first selected asset and the others will be deleted
Working with FIA (Familiarize, Internalize, Articulate) projects
What is FIA?
FIA (Familiarize, Internalize, Articulate) is a guided translation methodology built into LangQuest. Instead of working chapter-by-chapter like standard Bible projects, FIA organizes content into pericopes: thematic passage segments (for example, Mark 1:1-13). Each pericope comes with a six-step guided workflow, audio narration, reference images, maps, and key terms.
Navigating FIA content
- Open your project and select the FIA content tab
- Browse the book grid, which shows all available Bible books with pericope counts
- Select a book to see its pericopes listed by verse range
- Tap a pericope to begin working
The FIA step guide
When you open a pericope, a step drawer provides structured guidance through six stages:
- Hear and Heart: Listen to and internalize the passage
- Setting the Stage: Understand the historical and cultural context
- Defining the Scenes: Break the passage into individual scenes
- Embodying the Text: Enter into the characters and narrative
- Filling the Gaps: Address translation challenges and missing context
- Speaking the Word: Produce and refine your oral translation
Each step includes written instructions and audio narration. You can mark steps as done and the guide advances automatically.
The drawer has three tabs:
- Guide: The six-step workflow with text and audio
- Bible: An integrated Bible reader showing the source passage
- Media: Images, maps, and key terms related to the pericope
FIA offline support
When you open a pericope, LangQuest automatically downloads all FIA content (step text, images, maps, audio) in the background. Once cached, the entire FIA guide works offline.
Quest versioning
Multiple versions of the same content
Multiple people can record their own version of the same Bible chapter or FIA pericope. Each version is tracked independently with the creator's name and creation date.
Using the version picker
When you tap a chapter or pericope that already has versions:
- A version picker drawer opens showing all available versions
- Each version displays the creator's name, creation date, and source (local, synced, or cloud)
- Tap a version to open it, or tap "Create new version" to start a fresh recording
- Cloud-only versions prompt you to download before opening
Version indicators
On the chapter or pericope grid, visual indicators show version state:
- Color coding: Local-only versions, synced versions, and cloud-only versions each have distinct colors
- Version count badge: A number appears when multiple versions exist for the same content
- Download indicators: Show whether cloud versions have been downloaded for offline use
Collaboration features
Working together
Publishing your project to the cloud
Before you can collaborate with others, you need to upload your project content to the cloud.
Uploading to the Cloud
Look for the Cloud icon in the top right corner of a quest. When you tap it:
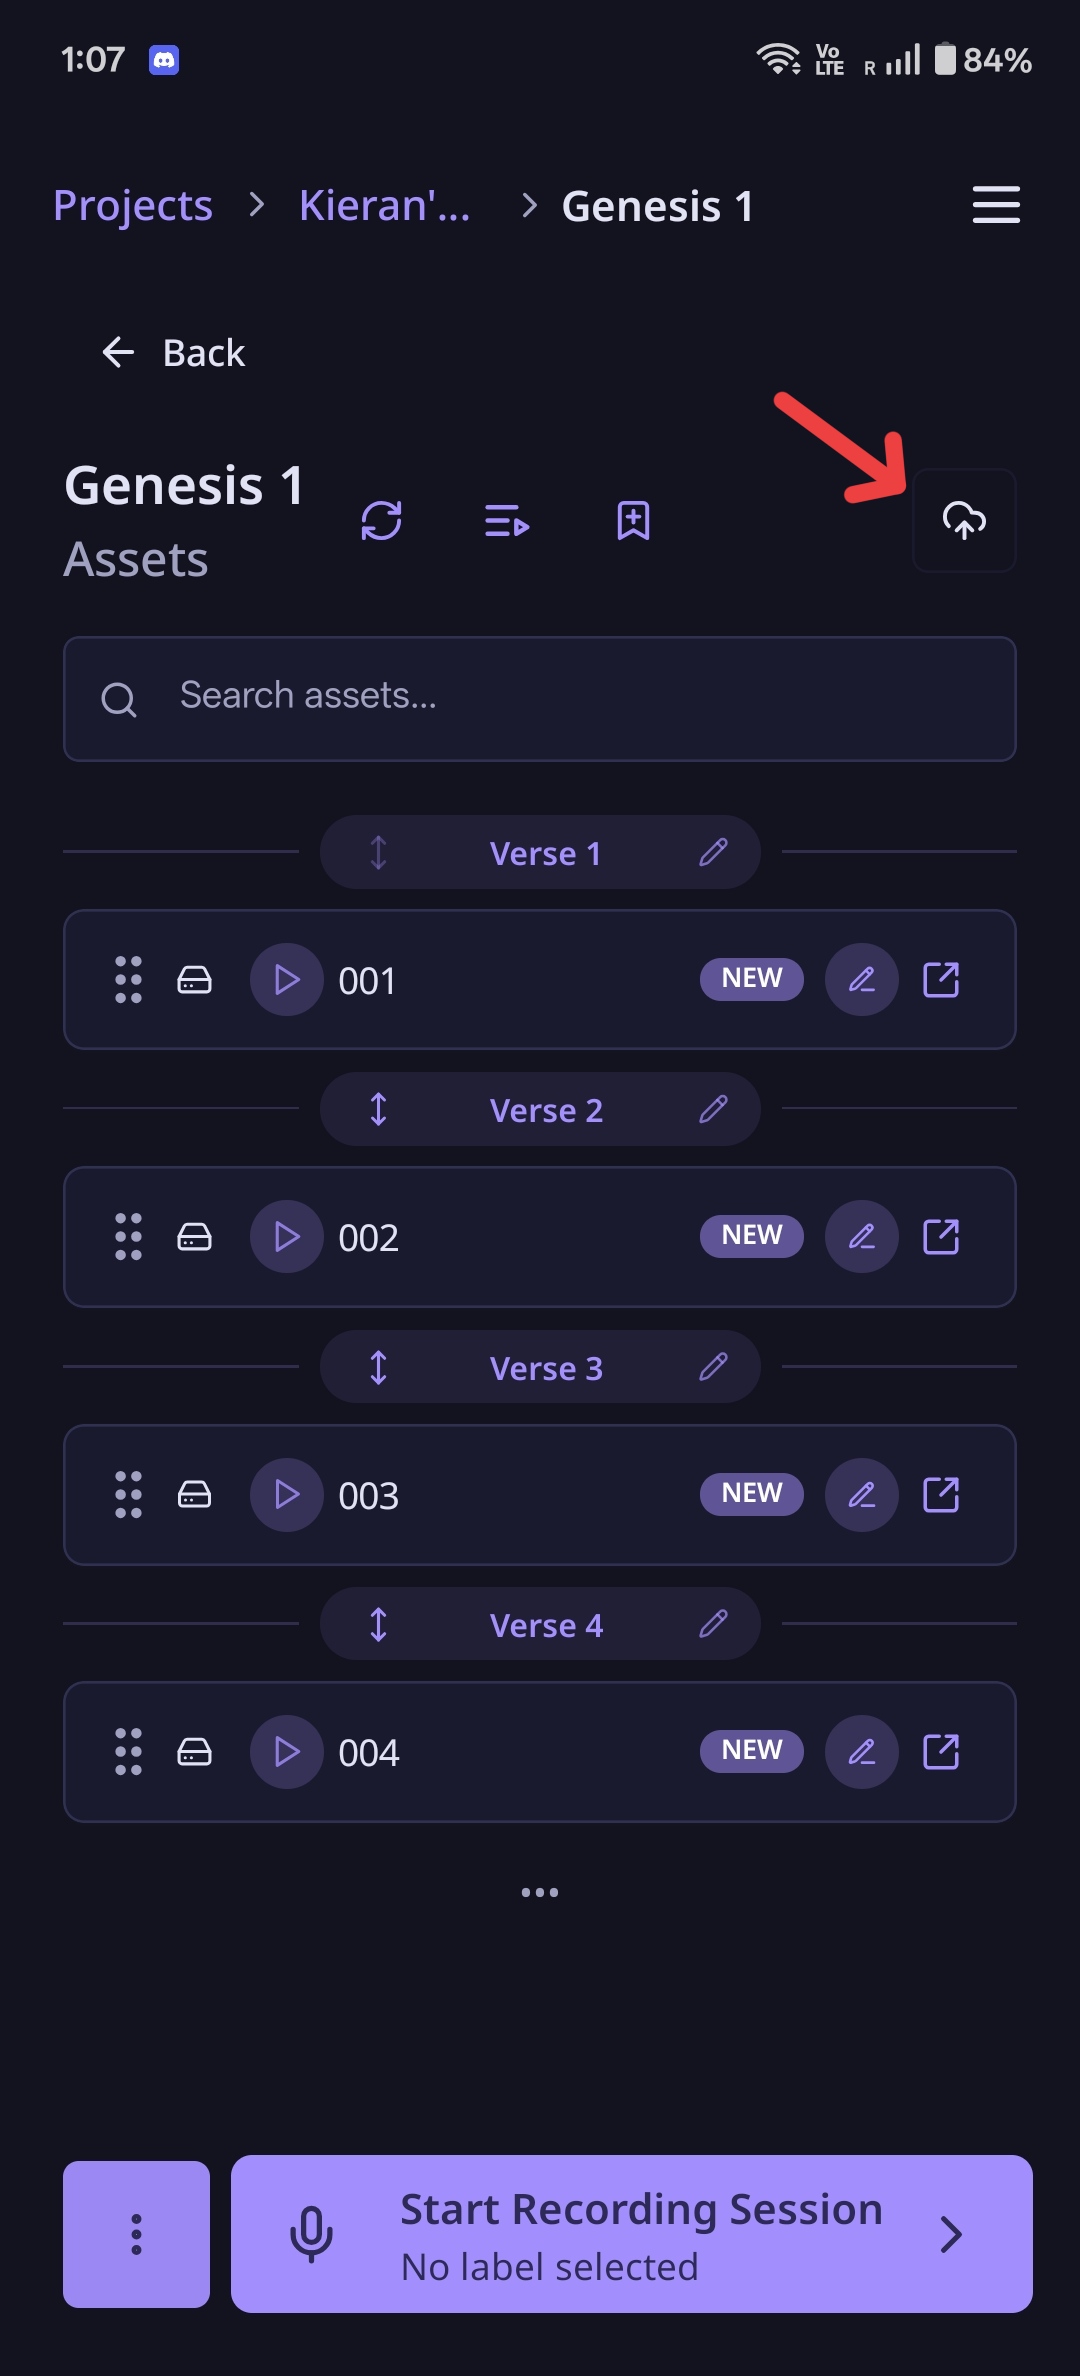
- It will create a permanent copy of that chapter in the cloud
- This is for the purposes of collaborating with team members
- When you invite them to your project, they'll be able to access this
- This becomes the common point of reference for the project
- If the parent book or project hasn't been saved to the cloud yet, they will be saved automatically
Note: If you're just doing tests or learning how to use the app and haven't uploaded anything to the cloud yet, your project remains local on your device.
Offline Access
LangQuest is designed to work offline. Your local data is available immediately when you open the app, even without an internet connection. Syncing happens automatically in the background when connectivity returns, and you stay signed in even if your session token expires while offline.
Deleting All Assets
If you need to start over or remove test recordings:
- Go to the three-dot menu at the bottom left of the asset list
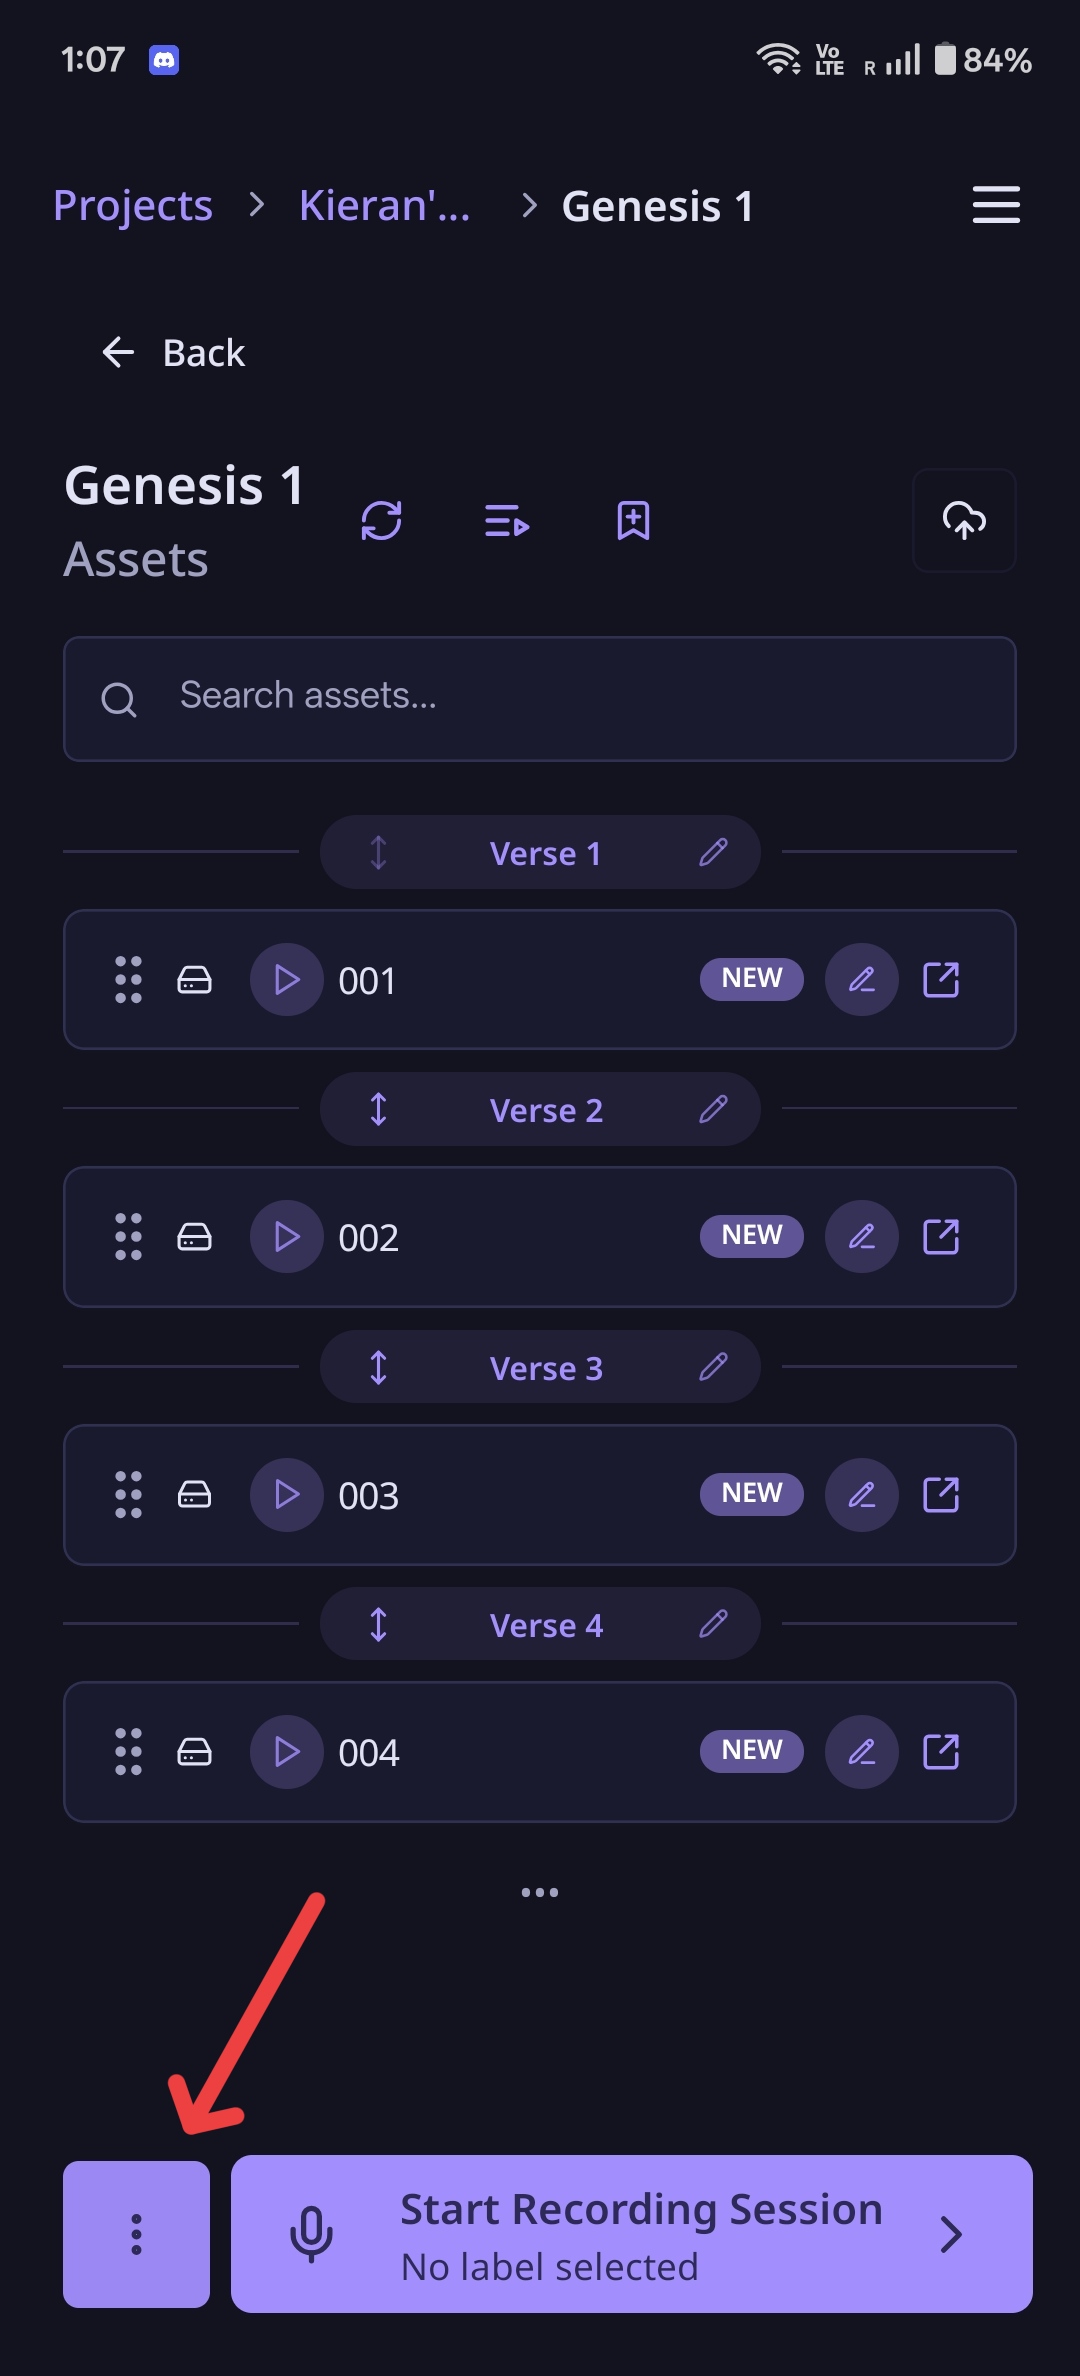
- Tap the broom icon (delete all assets)
- Confirm the deletion (this cannot be undone)
⚠️ Warning: Make sure you know what you're doing - this action cannot be undone!
Getting Started Checklist
Ready to start using LangQuest? Follow these steps:
- ✅ Create a project (unstructured or Bible)
- ✅ For Bible projects: select a book, then select a chapter to create a quest
- ✅ Start a recording session and grant microphone permissions
- ✅ Calibrate your microphone (remain quiet during calibration)
- ✅ Select verse labels and use tap (VAD) or hold (push-to-talk) to record
- ✅ Review, reorder, or delete your recorded assets
- ✅ Upload to the cloud (cloud icon) when ready to collaborate
- ✅ Invite collaborators to work together
Tips for Success
- Calibrate carefully - Remain as quiet as possible during microphone calibration for best results
- Start local - Work on your device first; upload to cloud only when ready to collaborate
- Practice recording - Get comfortable with tap (VAD) vs. hold (push-to-talk) recording modes
- Use verse labels - Organize Bible recordings by verse using the built-in verse label system
- Reorder your assets - Drag and drop to arrange recordings in the right order
- Work offline - Your data is always available locally; syncing happens automatically when you reconnect
- Collaborate - Invite others to share the work and improve quality
Next Steps
- Project Membership - Learn how to invite members and manage project access
- Features Overview - Explore all of LangQuest's capabilities
- Roadmap - See what's coming next